GORE-TEX Apparel
When to Clean
When water no longer beads on the surface and after exposure to dirt, mud, or oils
Active Time:10 minutes
Wait Time:30-40 minutes
Tools
Mild Detergent (free of fabric softeners or bleach)
Washing Machine (front loading or preferably without an agitator)
Sink for Handwashing (optional)
Step 1
Prep your gear
Before washing, gently brush off any loose dirt or debris. Empty all pockets and securely close zippers, snaps, and drawcords to protect the garment and prevent damage during the wash.
Step 2
Machine wash and rinse
Wash the garment separately in a front-loading washer or top-loading washer without an agitator. Select the ‘small load’ option with a warm temperature setting (40°C/104°F).
Ensure all detergent residue is rinsed out by adding an extra rinse cycle or running the rinse cycle twice.
Tip:Top-loading machines with agitators can be tough on your gear, so it’s best to avoid them. If you’re using a top-loader with an agitator, stick to a gentle cycle and keep the load light to protect your garment.
- or -
Hand wash and rinse
Fill a clean sink with warm water and add a small amount of mild detergent. Submerge the garment and gently agitate the fabric to loosen dirt and oils.
Rinse thoroughly by draining the soapy water, refilling with clean water, and repeating until no detergent remains.
When to Dry
After washing
Active Time:5 minutes
Wait Time:20-40 minutes or overnight
Tools
Tumble Dryer
Iron (optional)
Soft Cloth (optional)
Step 1
Tumble dry on low heat
Place your washed garment in the dryer and set it to a warm, gentle setting. Tumble dry for 20 minutes or until completely dry to reactivate the Durable Water Repellent (DWR) coating.
- or -
Air dry and iron
Hang the garment in a well-ventilated area until it is completely dry, often overnight. Once dry, set your iron to a low setting (below 110°C) with the steam turned off.
Place a thin towel or cloth between the garment and the iron to protect the fabric. Gently iron the garment to reactivate the DWR coating, working in smooth, even motions.
Tip:Let your shell air-dry fully before ironing to avoid trapping moisture in the fabric.
When to condition
After every wash/dry cycle, once the leather is completely dry to prevent the leather from stiffening or cracking
Active Time:5 minutes
Wait Time:4 hours or overnight
Tools
Soft cloth (optional)
Step 1
Condition the leather collar
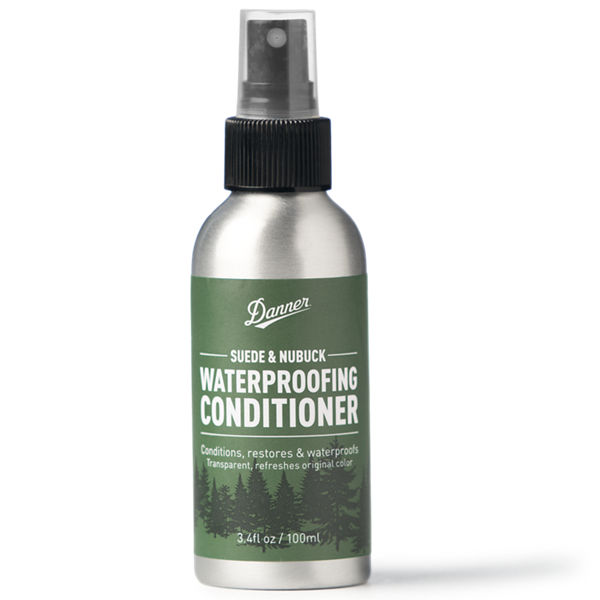
Ensure the leather collar is completely dry. Hold the Danner Leather Conditioner spray a few inches from the collar and apply an even layer across the surface. Use a soft cloth to gently work the conditioner into the leather, ensuring full coverage.
Allow the conditioner to absorb for at least 4 hours, or overnight for best results.
Tip:Conditioning prevents the leather from cracking, keeping it flexible and durable over time. Regular conditioning helps maintain the leather’s natural feel and appearance.
1 items
Filter / Sort
Sort By
Footwear Care Articles
Caring for your footwear will extend their life and keep them performing their best.
